Preparation is Key to Success

Starting your drawing project with the right set-up and correctly prepared drawing tools is essential if you want to produce good work.

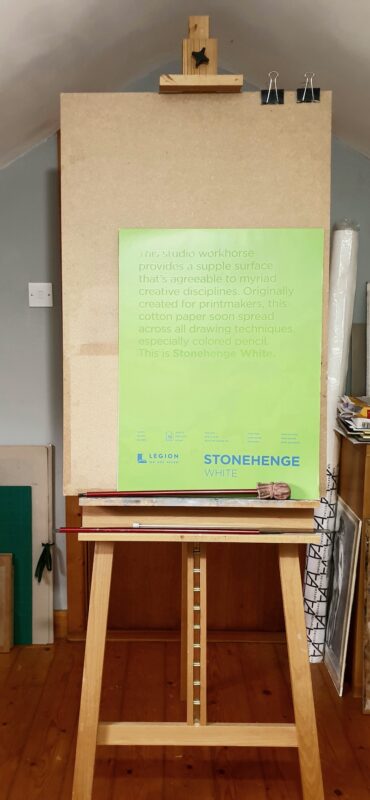
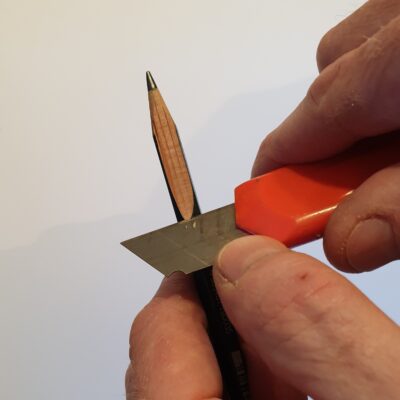
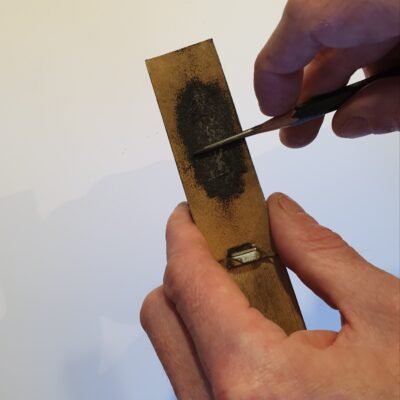
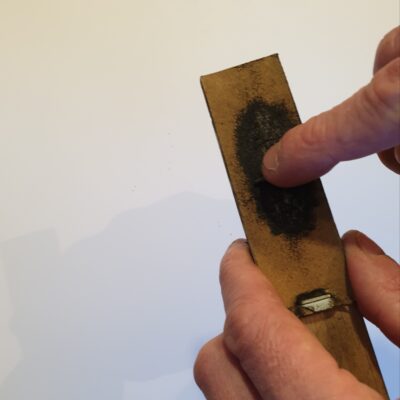
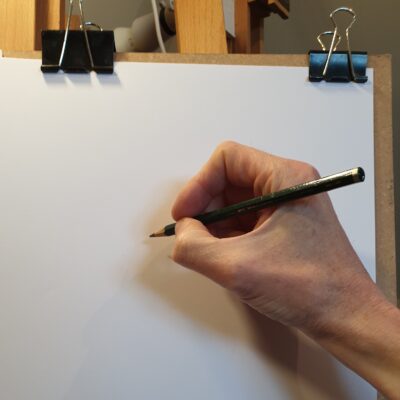
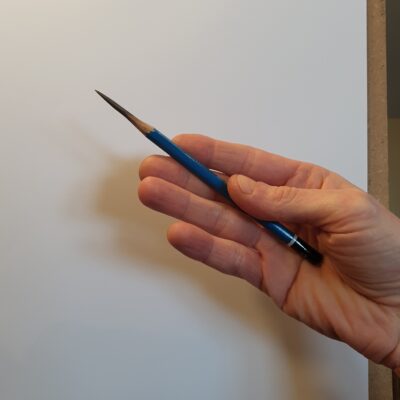
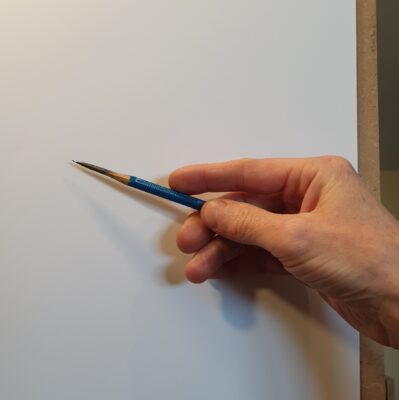
In the following article, I cover some of these preparatory steps such as choosing the right drawing surface and easel set-up, and sharpening your pencils correctly, which tends segues into how you hold the pencil and consequently, how you draw and the quality of your lines and tones.

Setting Up Easel & Drawing Board

The ideal set-up is to stand at a studio or portable easel, with a smooth drawing board approximately 45 x 60cm minimum (i.e. large enough to place two A3 sheets side-by-side).

You can use a table easel, which recreates a similar set-up. However, there are disadvantages to being seated:

  • You don’t have as much physical freedom as you do when standing
  • Your arm and elbow movement is more restricted
  • And most importantly, you will less inclined to stand up and back from your drawing, which is essential in order to assess its progress and to judge things properly

If you are using a drawing board on a table, make sure that your line of sight to the drawing board is 90 degrees. In other words, you will have to tilt the the drawing board towards you. This prevents any distortion in your view of the drawing i.e. the bottom of the drawing is not closer to you than the top, or any acute tilt is not creating a foreshortened view.

Sharpening Pencils

Having well-sharpened pencils – whether they are graphite, charcoal or Conté – is essential when producing the many different kinds of lines and tones that we need for drawing. Your pencil should have approximately one inch of lead and one inch of wood exposed, and the full two inches should be tapered to a fine point.

Step 1

To sharpen your pencil, start by measuring up two inches on the barrel of the pencil from the tip.

Step 2

Hold the craft knife or stanley blade with one hand, and with the thumb of the ‘pencil hand,’ push the blade to make the cutting.

Step 3

Use sandpaper to refine the graphite rod and tip. Support this fragile length of graphite with your index finger when sanding it, all the while rotating the pencil, so that you taper it uniformly.

How to Hold Your Pencil

Tripod (or Writing) Grip

The familiar way of holding the pencil is known as the tripod grip (or writing grip). It’s used for writing because writing involves very detailed and precise marks. Therefore, we will reserve this grip for the detail in our drawings.

But drawing is not all about detail, and there are many stages in a drawing that require other line qualities and shading techniques. So we need other ways to hold the pencil to accommodate and best serve these styles.

Overhand (or Underhand) Grip

The more flexible grip then is the overhand grip, which is best for long flowing even lines, using our whole arm up to the shoulder but particularly the elbow to achieve them.

Step 1

In the image above left, you can see the preparation of this grip, lying the pencil flat under the fingers so that the end of the pencil tucks into the centre of the palm. And then, you simply turn your hand over to draw.

Step 2

In the image above, my little finger and ring finger are resting on the paper / board for support and stability. This helps to create more even lines and marks. The pencil is also at a very low angle to the paper / board, maybe 10 or 20 degrees. Using the side of the pencil, you can create broad lines, and as you tilt the pencil more so that you’re using more of the tip, you can produce thinner and finer lines.

The main purpose of this grip is to produce broad sweeping strokes – the kind that you will need at the outset of a drawing, where the lines are gestural and expressive or big and general.