Capture Intimate Moments in Pastels
A complete guide to reproducing Mary Cassatt’s Mother & Child (The Goodnight Hug) (1880)
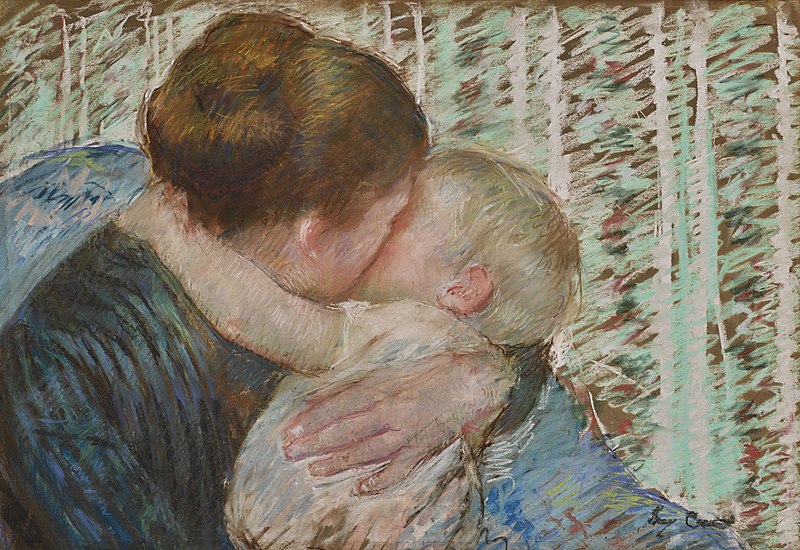
Although the sketchy, loose approach looks as if it is spontaneous and free, Cassatt’s pictures were carefully planned. She developed a discerning eye when viewing relationships between people and this detail shows how her seemingly capricious application was in fact deliberate.
Both faces are obscured in this painting. The picture is created by our recognition of the gesture’s emotional intensity. Short, sketchy strokes of pastel define the body of the mother and her child, while the wallpaper in the background is rendered with almost scribbled hatching.
“There’s only one thing in life for a woman; it’s to be a mother. . . . A woman artist must be capable of making primary sacrifices.”
– Mary Cassatt (1844-1926)
Cassatt’s original painting is approximately 42 x 61 cm. We will copy her painting at about half this size, at 42 x 30 cm. You can download an A3 colour print of he painting below. Here is a list of the tools and materials you will need to create this painting.
Download A3 Colour Print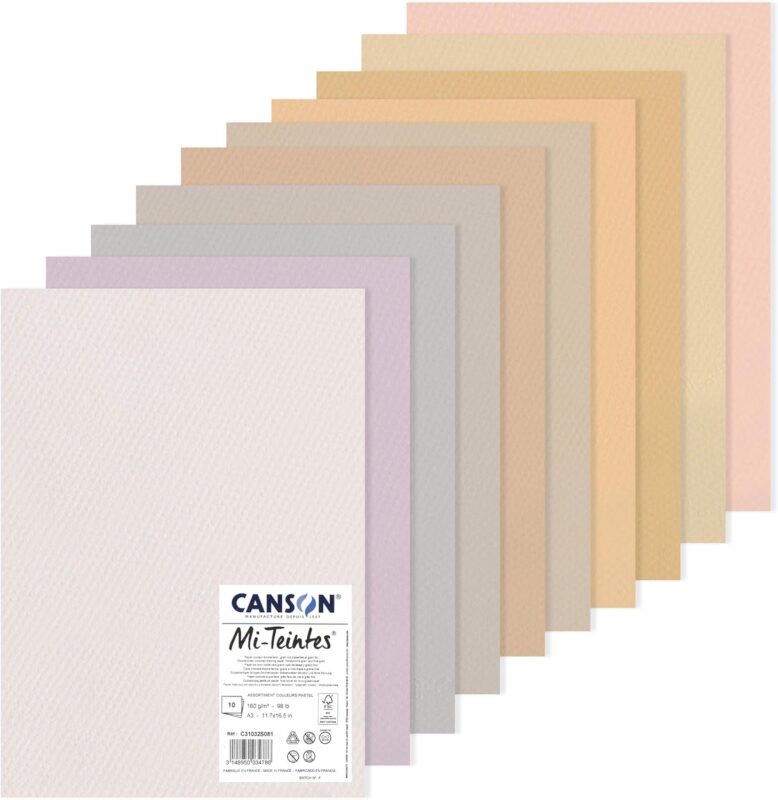
Brown or tan-tinted pastel paper, A3 size (29.7x42cm). I recommend Canson Mi-Teintes.
You could alternatively apply a light wash of gouache to some white watercolour paper. This gives you a lot more control over the outcome. Follow the link below to see how this is done.
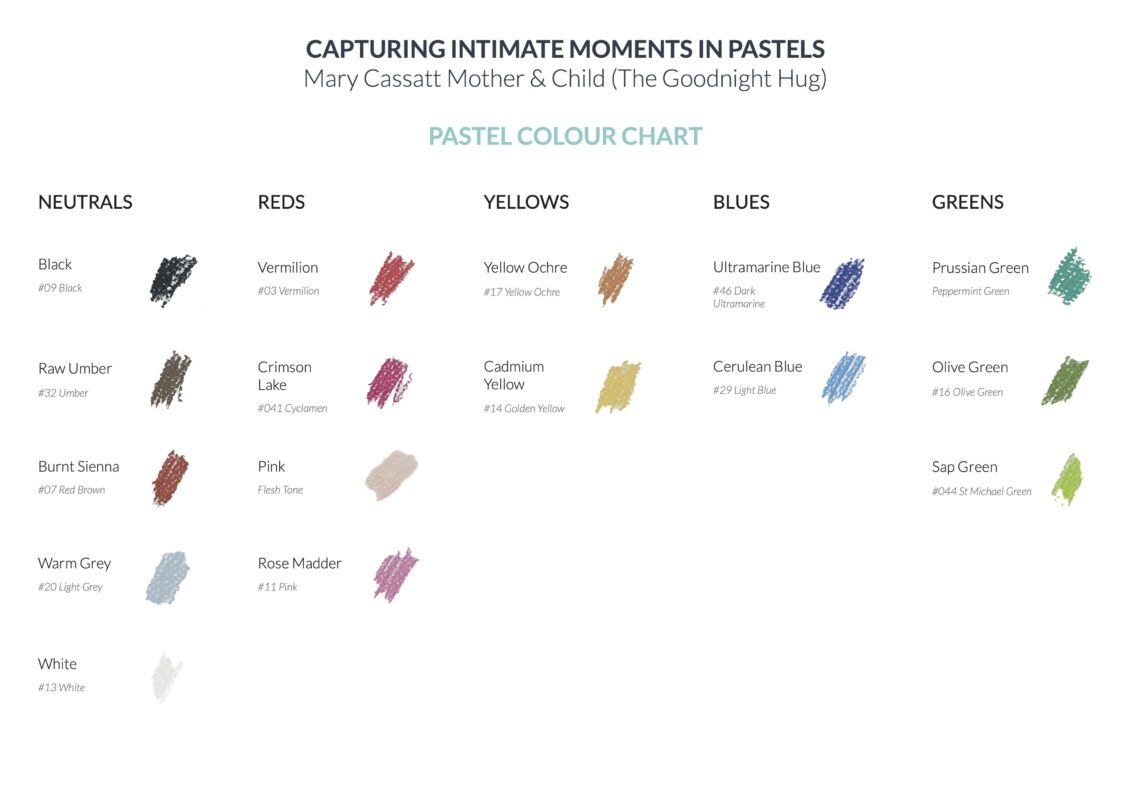
The colour palette that Cassatt uses in this painting is as follows.
Click on the image to enlarge or download the PDF below.
Download Colour Chart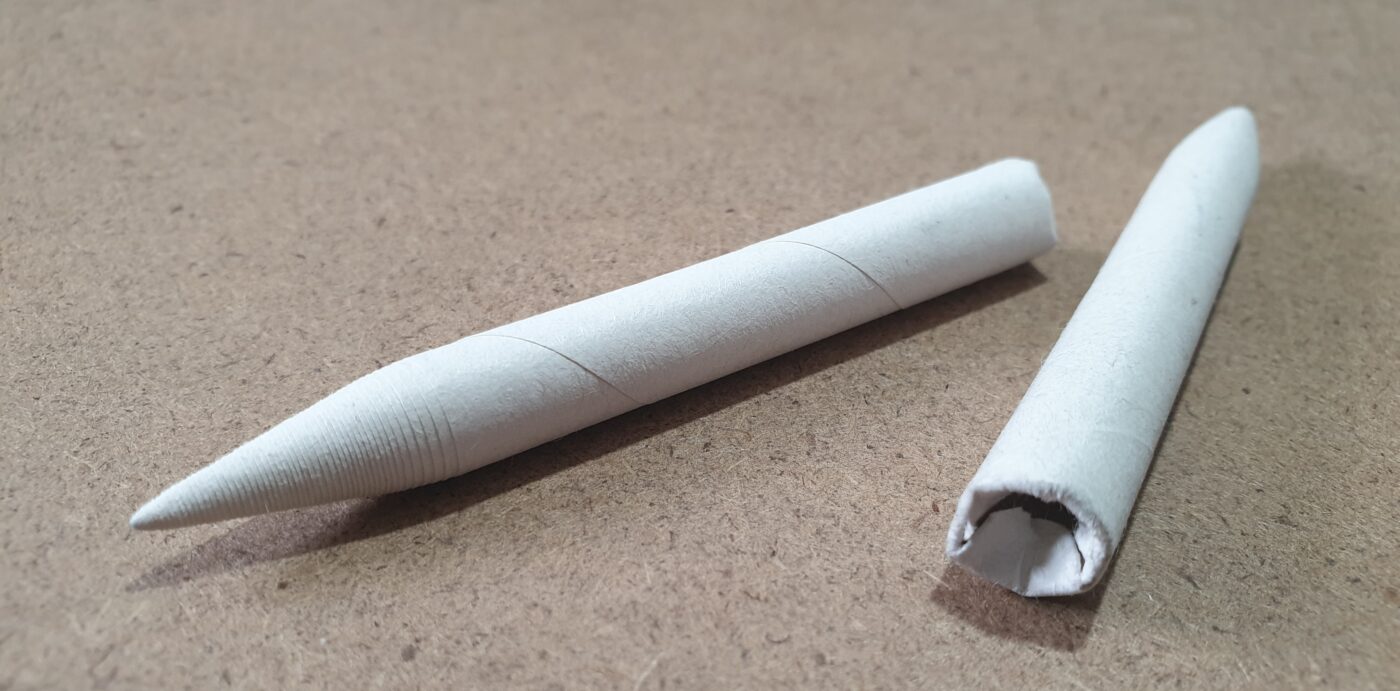
Here are some other materials and equipment that you may need to complete this project:
Cassatt’s picture was created with a combination of soft and hard pastels but use whatever suits you.
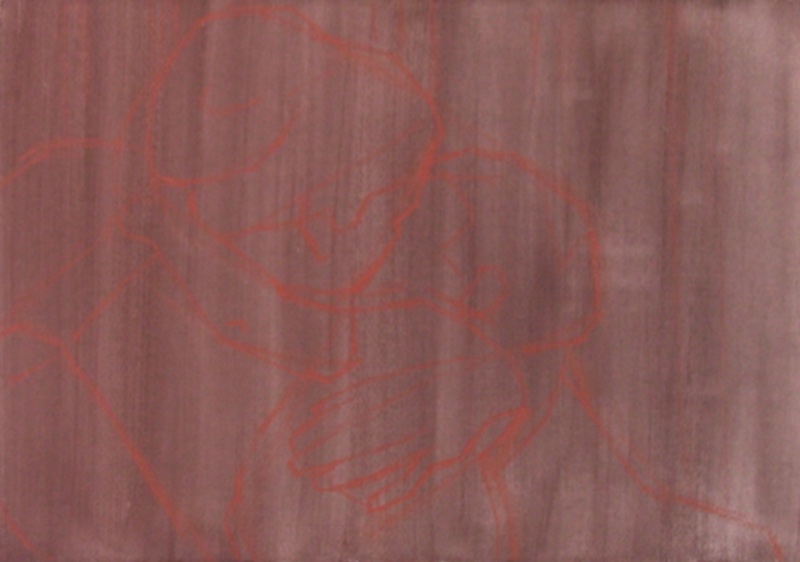
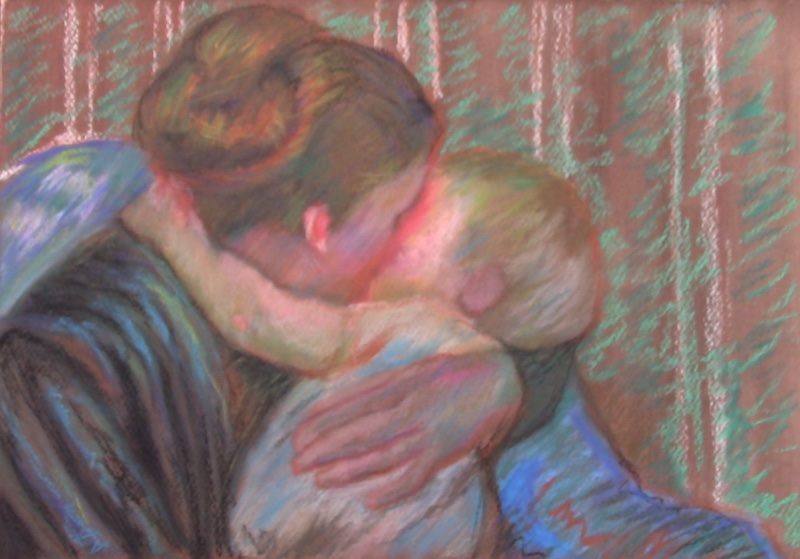
Lightly draw the outlines of the figures in dark red or a neutral-coloured pastel, carefully measuring the proportions as you do. I used a Conté Sanguine 610 pencil for the block-in but you could also use a pastel stick.
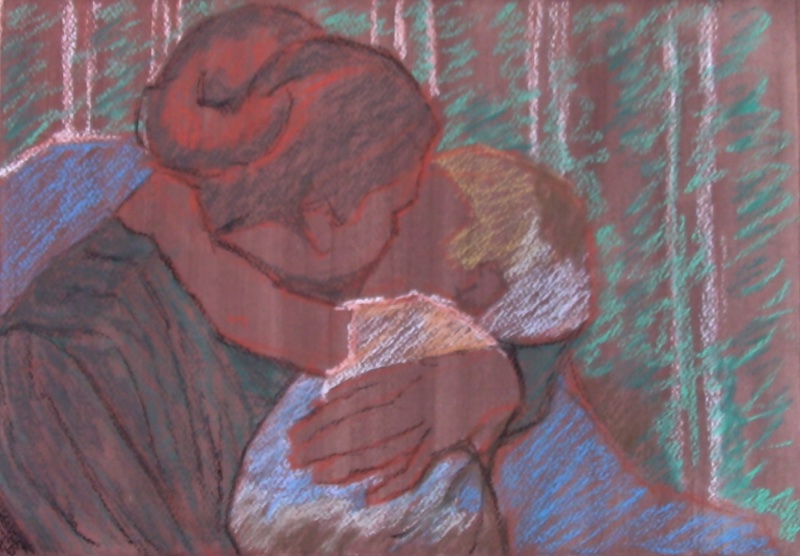
Next, I begin to establish the general colour foundations, massing in the largest areas of the painting.
Really, I’m just testing out some of the broadest initial colours at this stage. I work around the whole picture, leaving the skin tones of the mother’s face and hand, and the child’s face and arm last. I want to establish the colour and value context first of all before broaching the faces, arm and hand.
Although the whole treatment of this image should be sketchy, the background will be even looser than the faces.
Next, I start to add some directional strokes in White, Yellow Ochre, Rose Madder, Vermilion and Cerulean Blue for the skin of the mother and child. Use loose rapid strokes to describe the skin of the mother and child. Layer these quickly into the general shapes of the ears, foreheads and cheeks as well as adding some colour to the child’s arm.
Cassatt’s choice of pinks and blues is perfect for the mother and baby image she builds up. With small, directional marks, carry on using blues and pinks on the faces, using short, diagonal strokes.
Then use your finger or torchon to smudge and blend the tones together. If you’re not happy with a colour or area, simply modify the colours and tones with further layers or hatchings over the first colours. Use a torchon to blend and merge the marks you have made with the pastels.
Establish the darker hair tones now, too, working from dark to light. Build up layers for the darkest areas of hair out of Raw Umber and Ultramarine Blue, and then Burnt Sienna. Continue to apply this fairly quickly and vigorously. Add highlights using yellows, greens and bright reds.
Once you’ve drawn in the blues and browns of the child’s hair, add some cooler, lighter highlights white White and Warm Grey, Prussian Green and Sap Green.
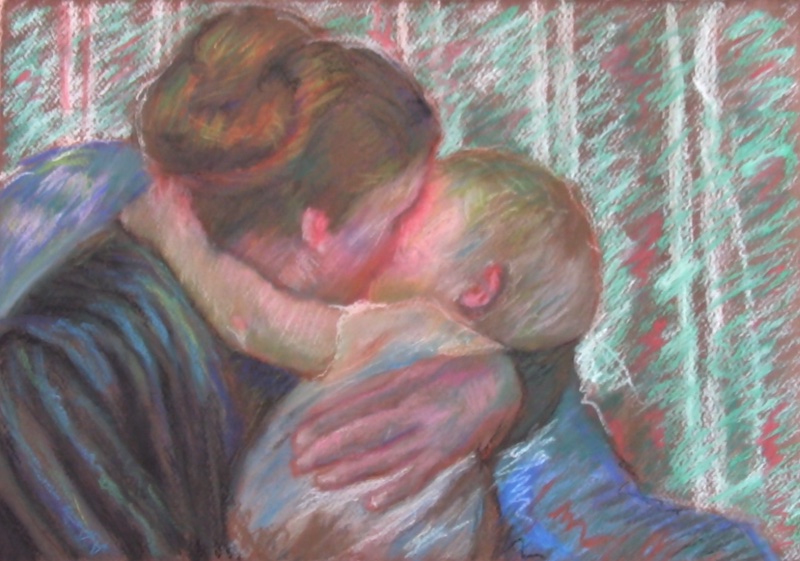
In this stage, I go through the painting again, this time building up the colours of the background, the chair, and the clothes. I use hatched lines over the first applications of pastel to increase the density of both value and colour.
Keep the directional aspect of the hatching and cross-hatching visible.
While you should still be generally building up and layering tones, textures and colours at this point, it is important not to be too precise but to keep things loose. The grain of the paper will be evident. Now start to smooth and blend the colours with the torchon or your finger. Although you are working vigorously, the baby’s head must seem soft and smooth, so apply colour with rapid strokes, then blend, then use rapid strokes again.
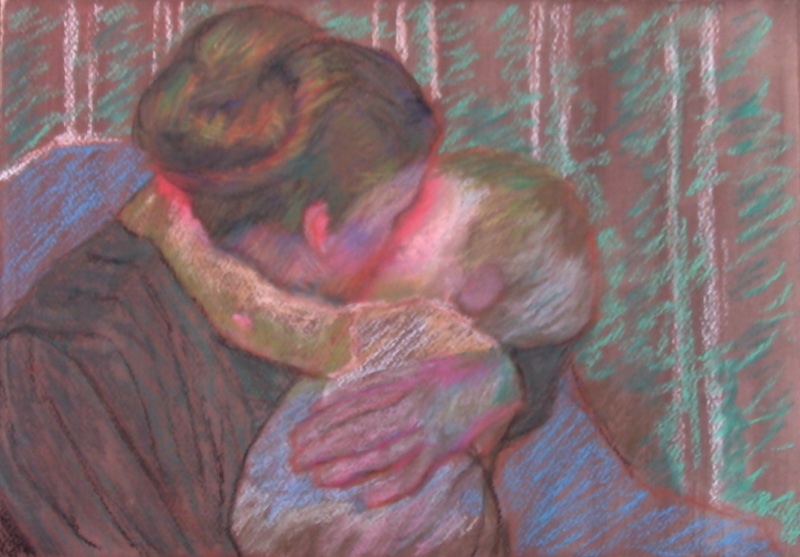
I’ve developed the multitude of colours on the mother’s dress, the child’s clothes and hair, and the chair.
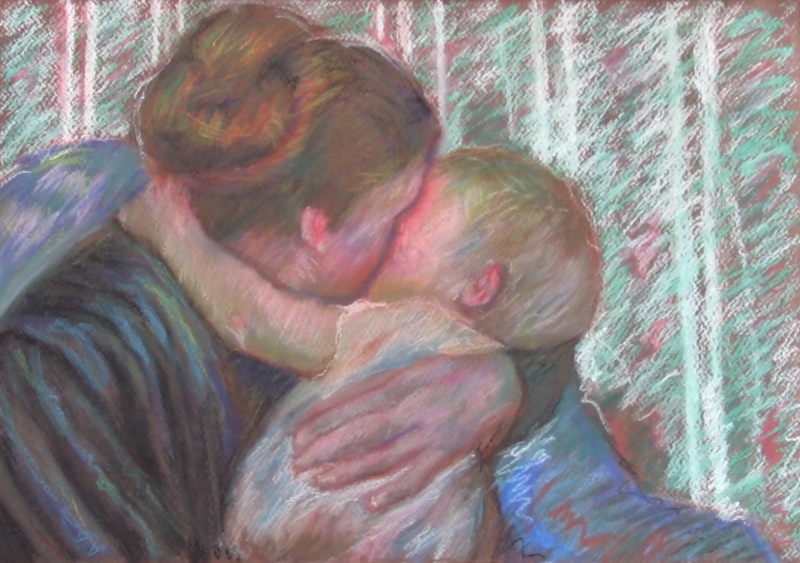
Work the background wallpaper with loose strokes of White, Olive Green, Prussian Green and Vermilion. This must be rendered really loosely in order to make the background appear to recede. This will also help the foreground appear to come forward. Blend the wallpaper with a torchon or your finger.
Clarify the child’s arm, clothing and face using mainly White directional strokes. Define the details in the hair, the ears and the shadow between the two faces. Use French Ultramarine, Burnt Sienna and Raw Umber for the darkest points.
Begin to show the contours of the faces to differentiate them. Use broken lines of Warm Grey, layered with Raw Umber, ensuring that the hard line is on the mother’s side and the softer shadow is on the child’s face.
Scumble White highlights onto the clothes, faces, child’s arm and hair (particularly the child’s).
To scumble pastels, apply them with the side of the stick and drag the colour lightly over the under layers, never completely covering them. Blend and layer with hatched strokes to add further details where necessary. Ensure, for instance, that the tones on the faces are fully blended, but that there are obvious individual strokes within the hair. To complete the picture, indicate the child’s eye with Raw Sienna.